Real estate listings with professionally staged photos get significantly more attention than those with empty room photos. Virtual staging transforms your listing photos from forgettable to compelling, helping buyers connect emotionally with the property before they ever step inside. AI makes this process instant and affordable for every listing.
Why Listings Need Virtual Staging
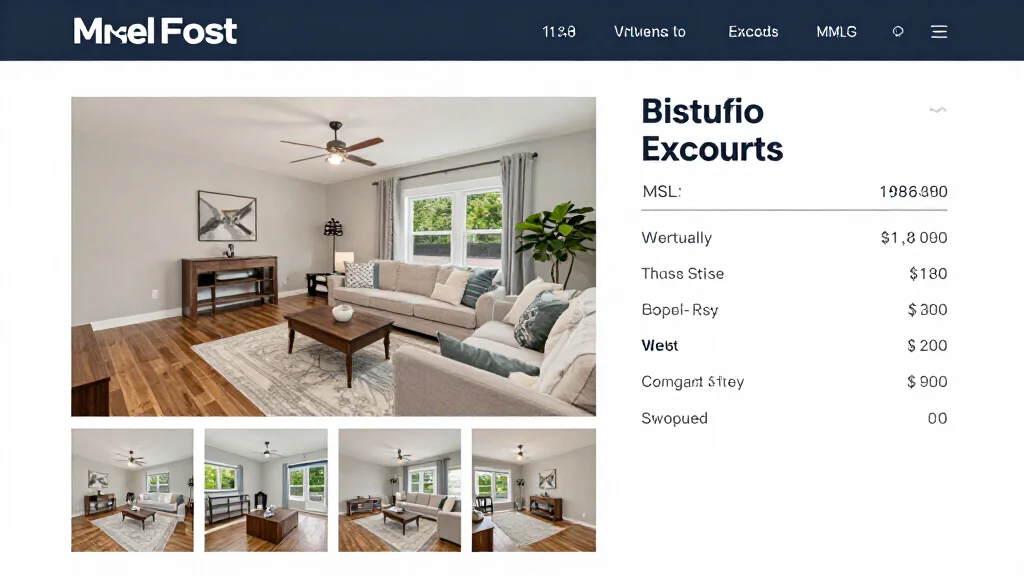
Listing photos are the single most important factor in whether buyers click through to learn more or scroll past your property. Empty rooms photograph smaller and less appealing than furnished ones. Virtual staging fills empty spaces with attractive furniture that shows each room's purpose and potential, driving more engagement and showings. Real estate agents can see the impact firsthand through virtual staging before and after comparisons, and AI virtual staging for real estate makes the process instant.
Best Virtual Staging for Listings
AI Smart Decor
- Best For: Best AI staging for real estate listings
- Price: Free to start
- Features: Instant staging, MLS-ready output, 20+ styles, High resolution
- Pros: Listing-ready in seconds, Free tier, Professional quality
- Cons: Self-service model
BoxBrownie
- Best For: Human-edited listing staging
- Price: From $24 per image
- Features: Professional editors, MLS standards, 24-hour delivery
- Pros: Human quality control
- Cons: 24-hour wait, Higher per-image cost
Listing Performance with Virtual Staging
- Staged listings get 40% more clicks than unstaged listings online
- Buyers spend 60% more time viewing staged listing photos
- Staged listings receive more showings and open house attendance
- Offers on staged listings average 1–5% higher than on unstaged homes
- Staged listings sell faster, reducing days on market
- Staged photos make listings stand out in search results and social media
Which Listing Photos to Stage
- Living room: the hero photo that appears first in search results
- Master bedroom: second most viewed room in any listing
- Kitchen: buyers want to envision cooking and gathering
- Dining room: shows entertaining potential
- Home office: increasingly important for remote workers
- Outdoor areas: bonus staging that adds lifestyle appeal
Staging Your Listing Step by Step
- Step 1: Photograph empty rooms with wide-angle lens and natural light
- Step 2: Upload the most important room photos to the staging platform
- Step 3: Select design styles that match the property's price point and location
- Step 4: Generate staged versions of each room
- Step 5: Upload staged and original photos to your MLS system
- Step 6: Add virtual staging disclosure to your listing description
- Step 7: Use staged photos in all marketing channels for the listing
Ready to Try It Yourself?
Stage your real estate listings with AI. Upload photos and get MLS-ready staged images in seconds - free to start.